
How to Prepare Interior Walls for Plastering: 7 Essential Steps
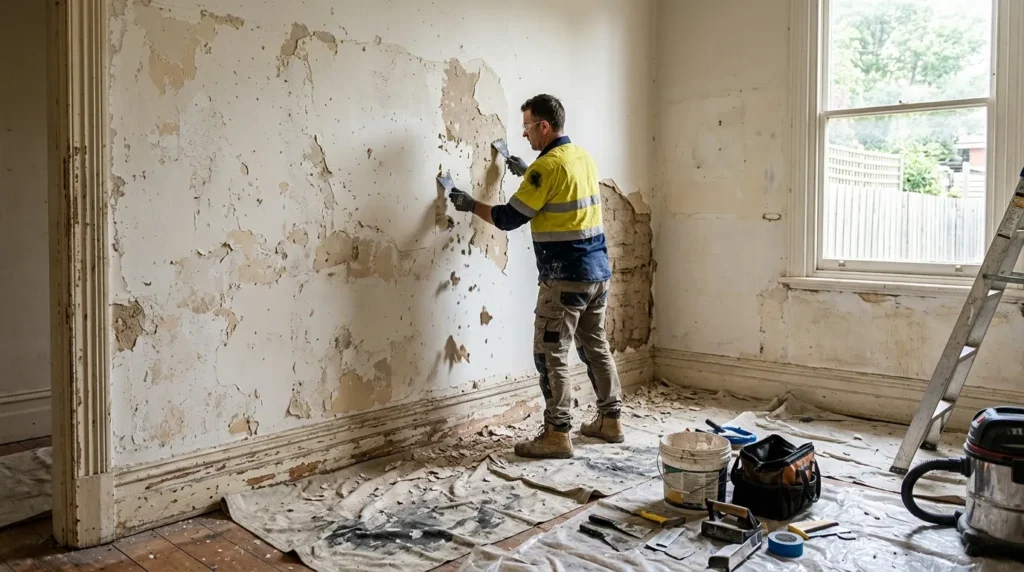
TABLE OF CONTENTS:
-
- Introduction
- Why Is Wall Preparation Important Before Plastering?
- Step 1: Inspect the Existing Wall Surface
- Step 2: Identify and Address Moisture Problems
- Step 3: Remove Loose Material and Unsuitable Coatings
- Step 4: Clean the Walls Thoroughly
- Step 5: Repair Cracks, Holes and Damaged Areas
- Step 6: Choose the Right Primer or Bonding Treatment
- Step 7: Check the Surface Before Plastering
- Preparing Different Types of Interior Walls
- Common Wall Preparation Mistakes to Avoid
- When Should You Hire a Professional Plasterer?
- Frequently Asked Questions
Introduction
Preparing interior walls properly before plastering is an important part of achieving a smooth, even and professional-looking finish. Whether you are renovating an older Melbourne home, repairing damaged walls or completing a new interior project, the condition of the existing surface can affect the plastering process and the final result.
Dust, loose material, cracks, moisture problems and unsuitable existing coatings can all create difficulties if they are not identified before work begins. Applying plaster over an inadequately prepared surface may lead to poor adhesion, uneven areas or repairs that need to be repeated.
At Emerald Group VIC, we understand the importance of assessing wall conditions before recommending a plastering or finishing solution. Every property has different requirements, so preparation should suit the existing wall material, the condition of the surface and the type of finish being applied.
In this guide, we explain how to prepare interior walls for plastering, what homeowners should inspect before work starts, which mistakes to avoid and when professional assistance may be appropriate.
Why Is Wall Preparation Important Before Plastering?
Proper wall preparation helps create a stable, clean surface for plastering. Dust, loose paint, cracks and moisture can affect adhesion and the quality of the finished wall.
Different surfaces, such as plasterboard, painted masonry and existing plaster, require different preparation methods.
Preparation helps to:
Identify cracks, holes and damaged areas.
Remove loose material and surface contaminants.
Address moisture problems before plastering.
Improve surface suitability for the chosen plastering system.
Reduce avoidable defects and rework.
For Melbourne homeowners, careful preparation is especially important when renovating older properties or repairing previously damaged walls.
Step 1: Inspect the Existing Wall Surface
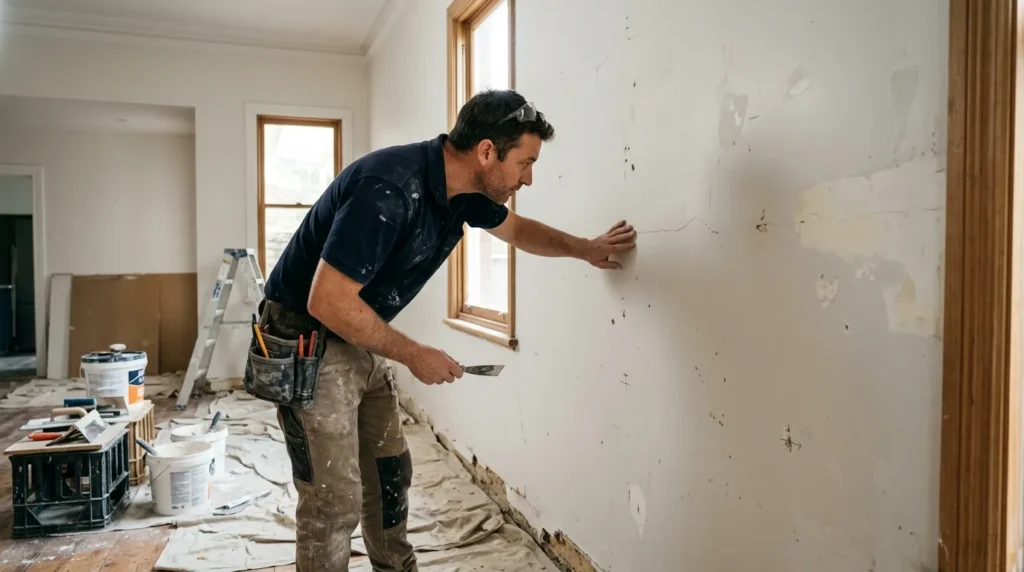
Examine the walls under good lighting before starting work. Check around windows, doors, ceilings, corners and previous repair areas for damage.
What should you look for?
Cracks and gaps: Check for recurring, widening or unusual cracks.
Uneven surfaces: Identify bulges, dents and poor repairs.
Loose material: Look for peeling paint and crumbling plaster.
Stains: Check for discolouration that may indicate moisture.
Old coatings: Identify glossy paint, wallpaper adhesive and other coatings that may affect plaster adhesion.
Understanding the wall’s condition helps determine the appropriate preparation method before plastering begins.
Step 2: Identify and Address Moisture step2
Allow affected surfaces to dry as required by the selected plastering system and product instructions. A surface that feels dry to the touch is Moisture should be investigated before a new plaster finish is applied. Covering a damp or deteriorating wall without addressing the cause can result in staining, bubbling, peeling, mould growth or damage to the new finish.
Signs of moisture damage
Check for:
Persistent damp patches.
Peeling or blistering paint.
Musty smells.
Mould or mildew.
Soft, crumbling or deteriorating material.
White salt-like deposits on masonry.
Stains that return after the surface has been cleaned.
These signs do not always reveal the exact source of the problem. Moisture may come from plumbing leaks, roof or window leaks, condensation, rising damp or water entering through the building envelope.
What should homeowners do?
Start by identifying whether the issue is active or historical. If there is a suspected leak, recurring dampness or extensive mould, arrange an appropriate inspection and address the underlying cause before proceeding.not necessarily dry throughout its depth.
Where necessary, a suitable moisture assessment can help establish whether the wall is ready for further work.
Step 3: Remove Loose Material and Unsuitable Coatings
Once the wall has been inspected and any underlying issues identified, the next step is to determine which existing materials can remain and which need to be removed.
Loose paint, flaking coatings, unstable plaster and poorly bonded repair patches can compromise the suitability of the surface for a new finish.
Removing loose paint and plaster
Loose material should be removed using a method appropriate to the wall and coating. The goal is to reach a stable surface without unnecessarily damaging sound sections.
If old plaster crumbles when touched, separates from the substrate or sounds hollow over a large area, a more thorough assessment may be necessary.
Do not assume that all existing paint must be stripped. Sound coatings may sometimes remain if the chosen system permits them and the surface is prepared correctly.
What about glossy paint?
Glossy or otherwise low-absorbency surfaces can present adhesion challenges. Depending on the product system, preparation may involve cleaning, mechanical preparation by a suitably equipped professional, or an approved bonding product.
The correct treatment depends on the existing coating and the manufacturer’s instructions.
Safety when removing old materials
Before disturbing old paint, textured coatings or other unknown materials, consider their age and composition. Older coatings may contain hazardous substances, and some renovation activities can generate harmful dust.
Avoid uncontrolled dry sanding or grinding. Where construction materials contain crystalline silica, mechanical processing can create hazardous respirable dust. WorkSafe Victoria provides guidance on identifying and controlling these risks in its construction silica safety guidance.
Step 4: Clean the Walls Thoroughly
After loose material and unsuitable coatings have been addressed, clean the surface using a method compatible with the wall and the selected plastering system.
Dust, grease, smoke residue and other contaminants can interfere with preparation products and the bonding of subsequent layers.
A practical wall-cleaning process
Protect nearby flooring, furniture and fixtures.
Remove loose dust and debris using a suitable cleaning method.
Clean greasy or contaminated areas with a compatible product where necessary.
Remove cleaning residues as directed by the product manufacturer.
Allow the surface to dry as required.
Reinspect the wall before moving to repairs or priming.
The cleaning method should match the material. Excessive water can damage plasterboard, soften some existing finishes or worsen a moisture problem. Use only the amount of moisture appropriate for the surface.
Do not use strong household chemicals without checking their compatibility with the plastering system. Residues from some cleaners can interfere with subsequent coatings.
Step 5: Repair Cracks, Holes and Damaged Areas
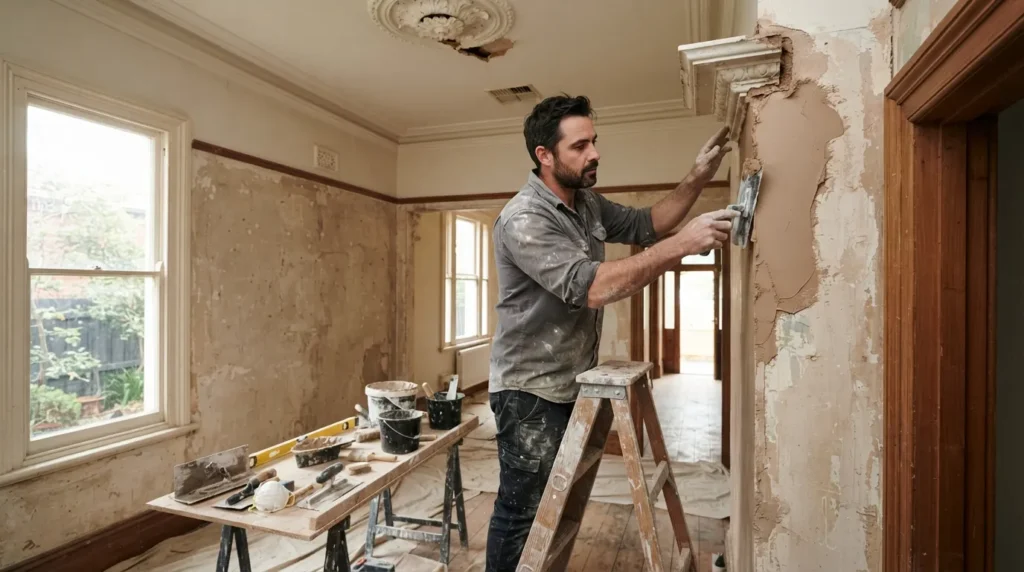
Repairs should be completed before applying the final plaster finish. However, the repair method must match the type and extent of the damage.
Small holes and minor surface defects
Small nail holes, shallow dents and minor imperfections may be suitable for a compatible repair compound. The repaired area should be finished according to the product instructions and checked for uneven edges.
Cracks in plaster
Hairline cracks may be cosmetic, but recurring, widening or diagonal cracks can have other causes.
Before filling a crack, consider whether it is stable and whether there are signs of movement, moisture or damage to the surrounding material. Filling a crack without addressing its cause may only provide a temporary cosmetic improvement.
Large, recurring or concerning cracks should be assessed by a suitably qualified professional before they are covered.
Damaged corners and edges
Corners, window reveals and door openings can be vulnerable to impact damage. Damaged sections may need rebuilding or an appropriate reinforcement system before the finishing layer is applied.
The choice of repair material should be compatible with the existing substrate and the intended plaster finish.
Step 6: Choose the Right Primer or Bonding Treatment
Not every wall requires the same primer, sealer or bonding treatment. The correct product depends on the substrate, its absorbency, the existing coating and the plastering system being used.
Applying an unsuitable product can create compatibility problems rather than solve them.
Porous or highly absorbent surfaces
Some substrates absorb moisture quickly. Depending on the selected plastering system, a compatible preparation product may be required to help manage suction and support the application process.
Smooth or low-absorbency surfaces
Smooth concrete, glossy coatings and other difficult surfaces may require a manufacturer-approved bonding treatment or a different preparation method.
Existing painted surfaces
Before plaster is applied over paint, the coating must be assessed for stability and compatibility. A primer should not be used as a substitute for removing loose or failing paint.
Step 7: Check the Surface Before Plastering
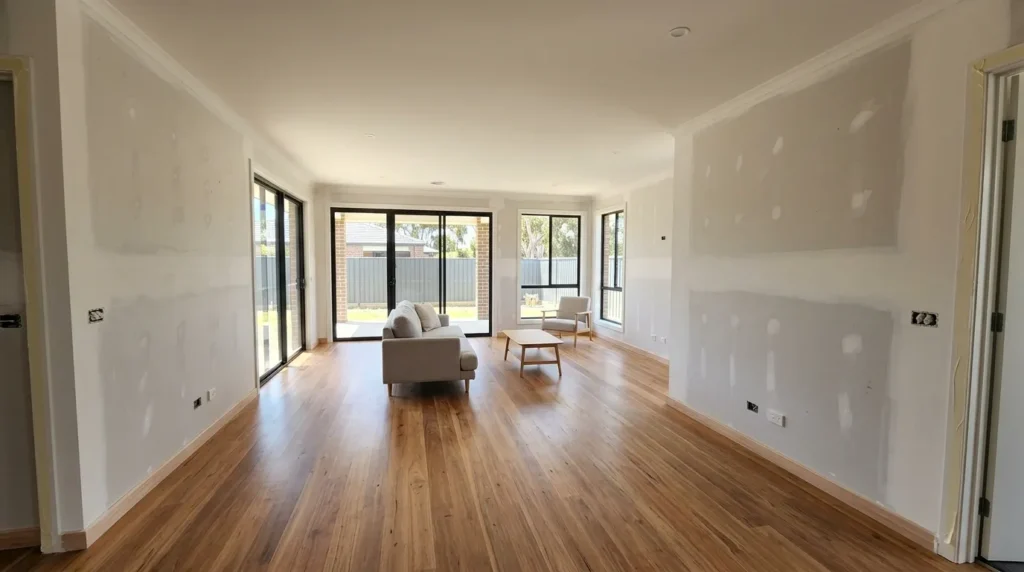
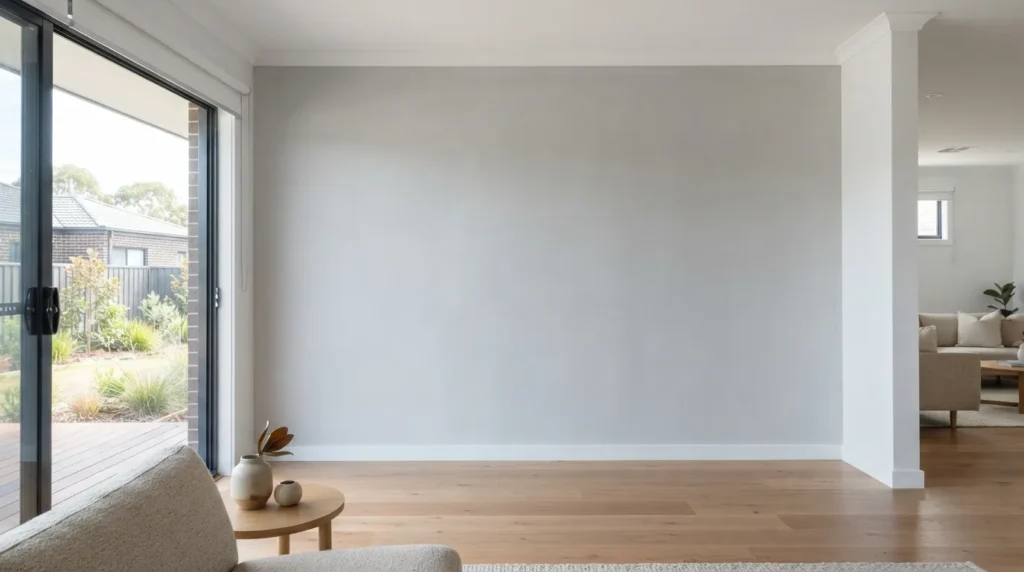
Before plastering, confirm that the wall is stable, clean and suitable for the selected system.
Walls do not always need to be perfectly smooth before plastering. The surface must be stable and prepared according to the plastering system’s requirements.
Preparing Different Types of Interior Walls
Different wall materials require different preparation methods.
Plasterboard walls
Check board stability, joints, fasteners and damaged areas. Use compatible repair materials and avoid excessive moisture or sanding.
Existing plaster walls
Inspect for cracks, loose sections, peeling paint and moisture damage. Sound areas may need minor preparation, while deteriorated sections may require repair or removal.
Masonry walls
Remove unsuitable dust, loose mortar and unstable material. Depending on the surface, a compatible undercoat or bonding treatment may be needed.
Concrete walls
Check the surface for contaminants, weak material and smooth areas that may affect adhesion. Choose a preparation method suitable for the concrete and plastering system.
Walls with old wallpaper or adhesive
Remove wallpaper and check for leftover adhesive. Clean and repair the surface as needed, and confirm compatibility before applying plaster.
Common Wall Preparation Mistakes to Avoid
Even small preparation errors can affect the quality of the finished surface. The following mistakes are worth avoiding during a renovation.
1. Plastering over damp walls
Moisture can damage the new finish and may indicate a continuing building problem. Investigate the source before covering the wall.
2. Leaving loose paint in place
New material cannot reliably correct an unstable underlying coating. Remove or treat unsuitable material using a method appropriate to the surface.
3. Ignoring cracks
Not every crack is serious, but recurring or significant cracks should not automatically be treated as simple cosmetic defects. Assess the cause before deciding on repairs.
4. Using the wrong primer
A product designed for one substrate may not be suitable for another. Check the technical information and compatibility requirements before application.
5. Skipping cleaning
Dust and contamination can interfere with subsequent layers. Clean the surface properly and inspect it before continuing.
6. Rushing drying and curing times
Different products require different drying or curing periods. Applying the next layer too early can compromise the process.
7. Sanding without adequate dust controls
Sanding and mechanical preparation can generate harmful airborne dust. Use appropriate controls and seek professional assistance when the work involves hazardous materials or requires specialised equipment.
8. Treating every wall in the same way
A plasterboard partition, a painted masonry wall and a deteriorating older plaster surface may require very different approaches. Preparation should be based on the actual substrate and selected finish.
When Should You Hire a Professional Plasterer? Plasterer?
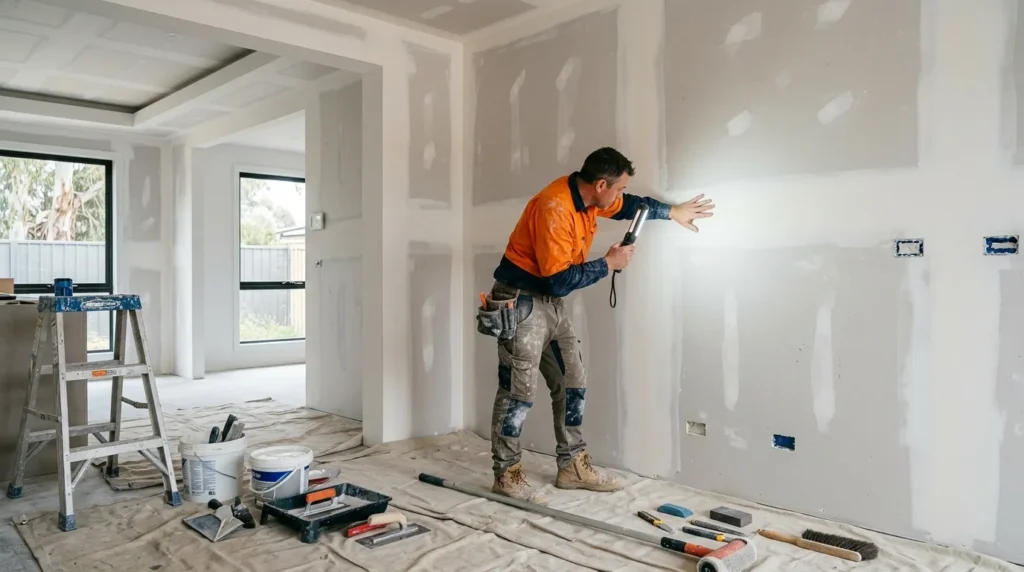
f you are unsure about the condition of your walls, a professional assessment can help determine the most appropriate preparation and finishing approach.
Consider arranging an inspection when your walls have widespread cracking, loose plaster, persistent dampness, uneven surfaces or previous repairs that continue to fail.
Professional advice can also be useful when you are unsure whether the wall needs local patching, plastering, resurfacing or another finishing solution.
Emerald Group VIC provides plastering, wall-finishing and renovation-related services for suitable projects across Melbourne. Our approach is to consider the existing surface and the intended result before determining the appropriate work.
Depending on your project, you may also wish to explore our interior renovation services in Reservoir or browse our rendering and plastering service areas across Melbourne.
For homeowners considering a smooth interior finish, our white set plastering information provides further context about this type of wall finish.
Frequently Asked Questions
How do you prepare interior walls for plastering?
Start by identifying the wall material and inspecting it for cracks, loose material, moisture and previous coatings. Address underlying problems, remove unsuitable material, clean the surface, carry out compatible repairs and use the primer or bonding treatment specified for the selected plastering system.
Do walls need to be completely smooth before plastering?
Not necessarily. Some plastering systems are designed to level or finish suitable uneven surfaces. However, the substrate must meet the requirements of the selected system and should not contain unresolved defects that could compromise the result.
Should old paint be removed before plastering?
Not always. Sound paint may sometimes remain if the chosen system permits it and the surface is appropriately prepared. Loose, flaking or incompatible coatings should be addressed before proceeding.
Can you plaster over cracked walls?
It depends on the cracks and their cause. Minor, stable surface cracks may be repairable, but extensive, recurring or widening cracks should be assessed before they are covered. Structural movement and moisture problems may require attention first.
Can plaster be applied over damp walls?
A damp wall should not simply be covered. Investigate and resolve the source of moisture, assess any damaged material and follow the drying requirements of the selected plastering system before continuing.